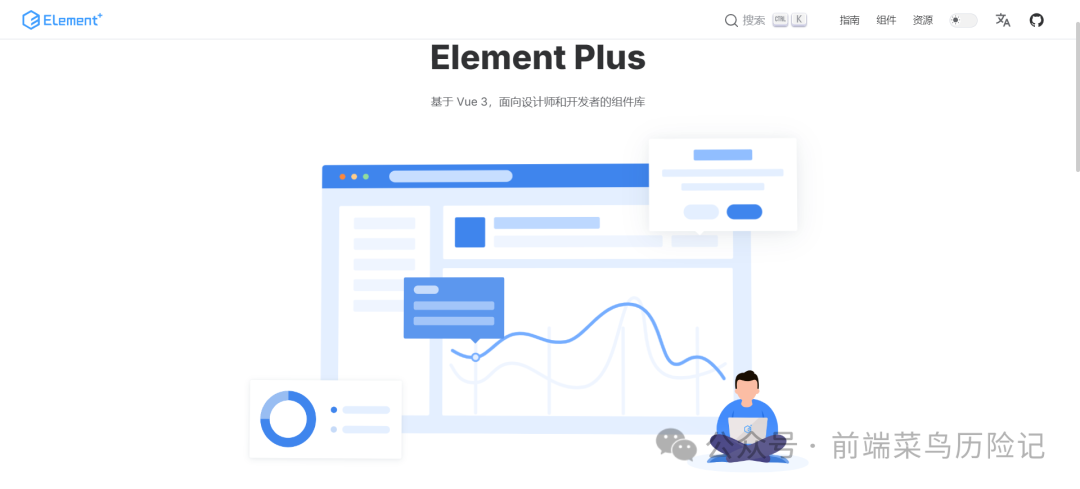
Element Plus 是一个基于 Vue 3 的组件库,提供了丰富的 UI 组件来帮助开发者快速构建网页应用这里需要注意的是 在创建项目前 先确认是否安装nodejs- 使用
vue - cli或vite来创建一个新的 Vue 3 项目。
npm init vite@latest 项目名称
cd my - element - plus - project
npm install
在项目目录下,通过npm安装 Element Plusnpm install element - plus
同时,你还需要安装 Element Plus 的图标库(如果需要使用图标)npm install @element - plus/icons - vue
在main.js(或main.ts)文件中,引入 Element Plus 的样式和组件import { createApp } from 'vue';import ElementPlus from 'element - plus';import 'element - plus/dist/index.css';import App from './App.vue';const app = createApp(App);app.use(ElementPlus);app.mount('#app');
- 首先,需要安装
unplugin - element - plus插件,运行npm install -D unplugin - element - plus。 - 然后,在
vite.config.js(对于vite项目)或vue.config.js(对于vue - cli项目)中进行配置:
import { defineConfig } from 'vite';import ElementPlus from 'element - plus';import { ElementPlusResolver } from 'unplugin - element - plus';import vue from '@vitejs/repository - vue';export default defineConfig({ plugins: [ vue(), ElementPlus({ resolvers: [ElementPlusResolver()], }), ],});
- 对于
vue - cli项目,需要使用babel - plugin - import来实现按需引入,配置相对复杂一些,主要是在babel.config.js文件中进行设置。
在.vue组件文件中(例如App.vue),你可以使用Button组件<template> <el - button type="primary">主要按钮</el - button></template>
import { ElButton } from 'element - plus';export default { components: { ElButton }}
<template> <el - button type="primary">主要按钮</el - button></template>
Button组件有多种属性,如type(按钮类型,包括primary、success、warning、danger等)、size(按钮大小,如large、default、small)、disabled(是否禁用)等<el - button type="success" size="large" disabled>成功按钮(禁用)</el - button>
<template> <el - table :data="tableData"> <el - table - column prop="date" label="日期"></el - table - column> <el - table - column prop="name" label="姓名"></el - table - column> <el - table - column prop="address" label="地址"></el - table - column> </el - table></template><script>export default { data() { return { tableData: [ { date: '2024 - 01 - 01', name: '张三', address: '北京市' }, { date: '2024 - 01 - 02', name: '李四', address: '上海市' } ] }; }};</script>
表格组件可以进行排序、筛选等操作。例如,添加排序功能<el - table :data="tableData" style="width: 100%"> <el - table - column prop="date" label="日期" sortable></el - table - column> <el - table - column prop="name" label="姓名"></el - table - column> <el - table - column prop="address" label="地址"></el - table - column></el - table>
还可以对表格进行分页。需要使用el - pagination组件<template> <el - table :data="tableData"> <el - table - column prop="date" label="日期"></el - table - column> <el - table - column prop="name" label="姓名"></el - table - column> <el - table - column prop="address" label="地址"></el - table - column> </el - table> <el - pagination @size - change="handleSizeChange" @current - page - change="handleCurrentPageChange" :current - page="currentPage" :page - sizes="[5, 10, 20]" :page - size="pageSize" layout="total, sizes, prev, pager, next" :total="total" > </el - pagination></template><script>export default { data() { return { tableData: [], currentPage: 1, pageSize: 10, total: 0 }; }, methods: { async handleSizeChange(newPageSize) { this.pageSize = newPageSize; await this.fetchData(); }, async handleCurrentPageChange(newCurrentPage) { this.currentPage = newCurrentPage; await this.fetchData(); }, async fetchData() { // 假设已经有一个获取数据的函数getData const data = await this.getData(this.currentPage, this.pageSize); this.tableData = data.rows; this.total = data.total; } }, mounted() { this.fetchData(); }};
3.表单(Form)组件使用
- 定义一个表单,包括表单元素如输入框(
el - input)、下拉框(el - select)等
<template> <el - form ref="form" :model="formData" label - width="80px"> <el - form - item label="姓名"> <el - input v - model="formData.name"></el - input> </el - form - item> <el - form - item label="年龄"> <el - input v - model="formData.age" type="number"></el - input> </el - form - item> <el - form - item label="性别"> <el - select v - model="formData.gender"> <el - option label="男" value="男"></el - option> <el - option label="女" value="女"></el - option> </el - select> </el - form - item> <el - form - item> <el - button type="primary" @click="submitForm">提交</el - button> </el - form - item> </el - form></template><script>export default { data() { return { formData: { name: '', age: '', gender: '' } }; }, methods: { submitForm() { console.log(this.formData); // 假设已经有一个验证表单的函数validateForm if (this.validateForm()) { // 发送表单数据,例如使用axios发送请求 axios.post('your - api - url', this.formData); } }, validateForm() { // 验证表单数据是否完整等,返回true或false return this.formData.name && this.formData.age && this.formData.gender; } }};</script>
Element Plus 提供了一些主题定制的方式。你可以通过修改CSS变量来改变组件的颜色等样式例如,在main.js(或main.ts)文件中,在引入 Element Plus 样式后,可以修改CSS变量:import { createApp } from 'vue';import ElementPlus from 'element - plus';import 'element - plus/dist/index.css';import App from './App.vue';const app = createApp(App);app.use(ElementPlus);app.mount('#app');const root = document.documentElement;root.style.setProperty('--el - color - primary', '#1890ff');
这会将 Element Plus 组件的主要颜色(如按钮的主要颜色)修改为#1890ff- 如果你想对某个组件的特定样式进行修改,可以通过在自己的
CSS文件中添加更具体的样式规则来覆盖 Element Plus 的默认样式。
例如,要修改el - button的字体大小和背景颜色:.el - button {font - size: 18px;background - color: #f0f0f0;}
注意,这种方式可能会影响到所有的el - button组件,如果你只想修改特定情况下的按钮样式,可以添加更具体的类名或者使用scoped样式(对于vue组件中的CSS)来限制样式的作用范围。
虽然现在前端的组件库 多如牛毛 有时候会很难选择 但是使用下来 个人觉得 Element Plus 绝对是非常契合vue3项目的一个。
该文章在 2024/12/28 12:26:32 编辑过
